Download and extract the OpenVPN configuration files here.
Download and extract the Certificate Authority here.
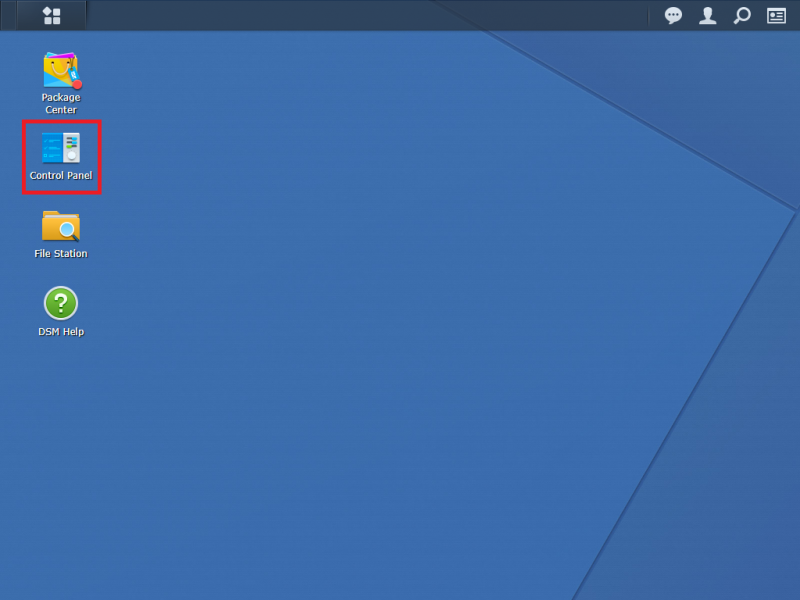
Proceed to Synology Control Panel.
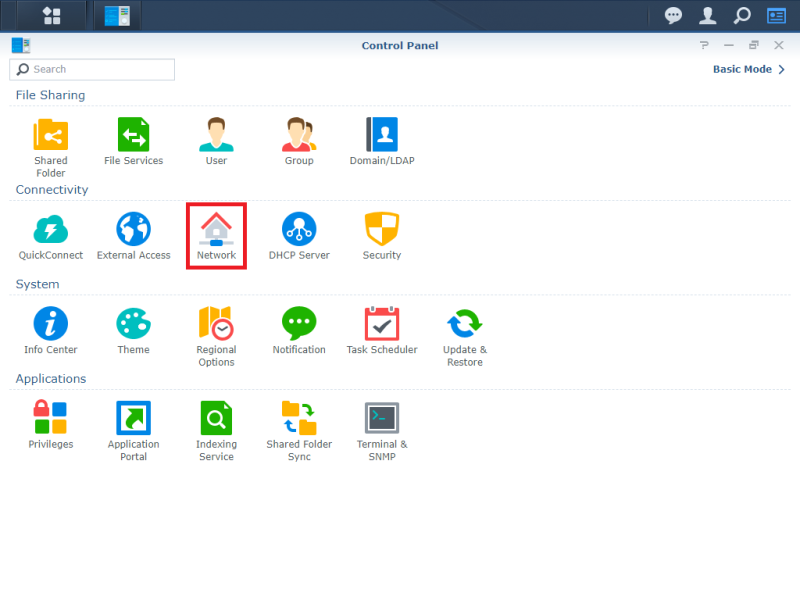
Click on Network.
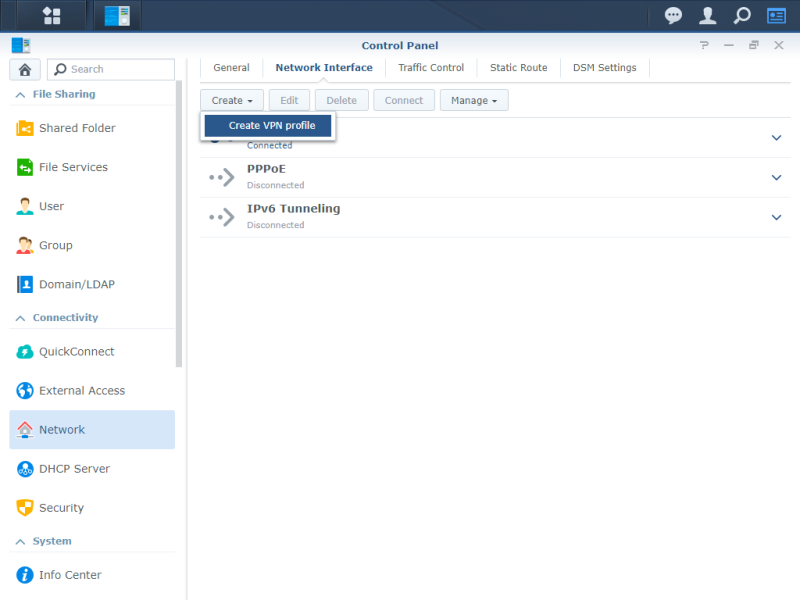
Select Network Interface at the top tabs then choose Create VPN Profile.
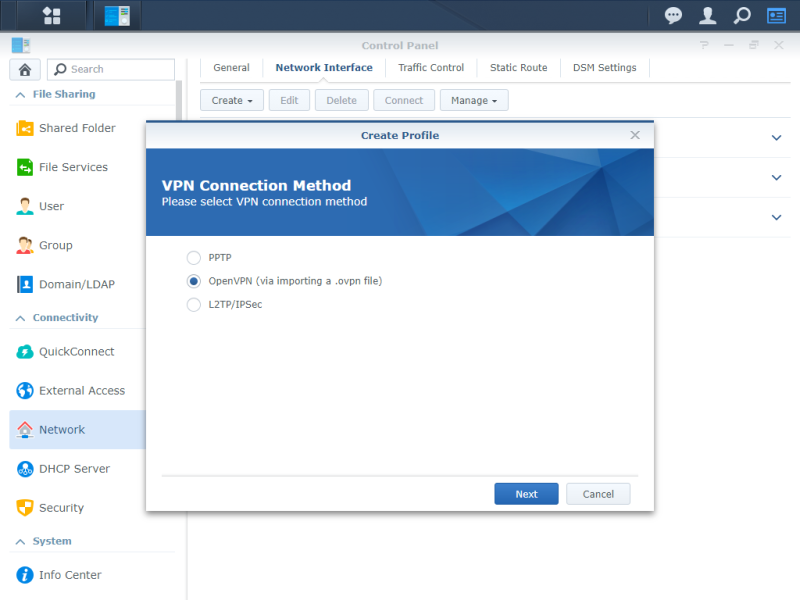
Select OpenVPN (via importing a .ovpn file) and then click Next.
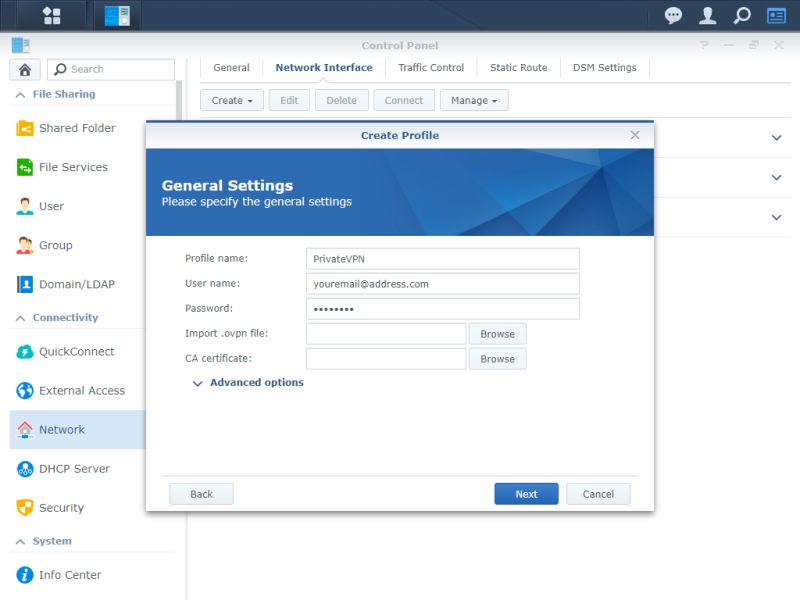
Enter the following settings:
Profile name: (any name would do)
Username: (your PrivateVPN registered email)
Password: (your password)
Click Browse button for Import .ovpn file.
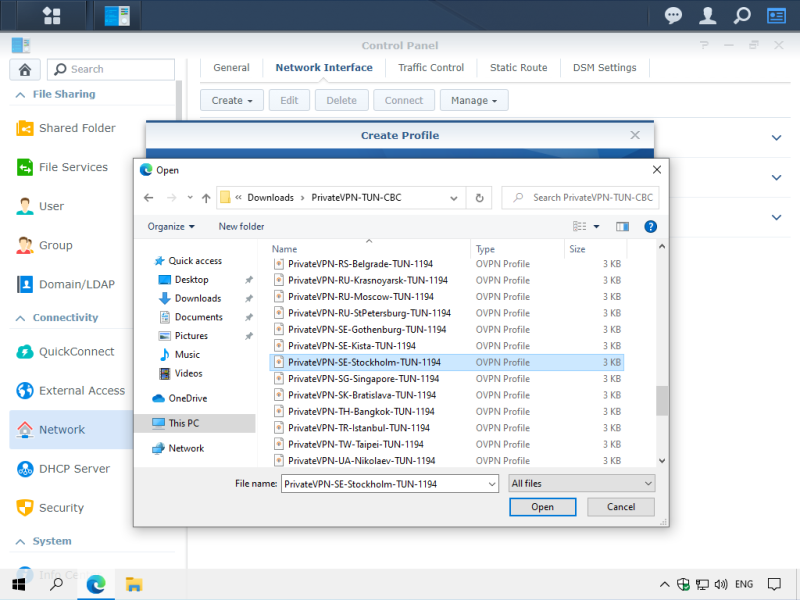
Proceed to the extracted configuration file folder then choose your preferred VPN location. Click Open.
*for this guide, we will select a Sweden-based server.
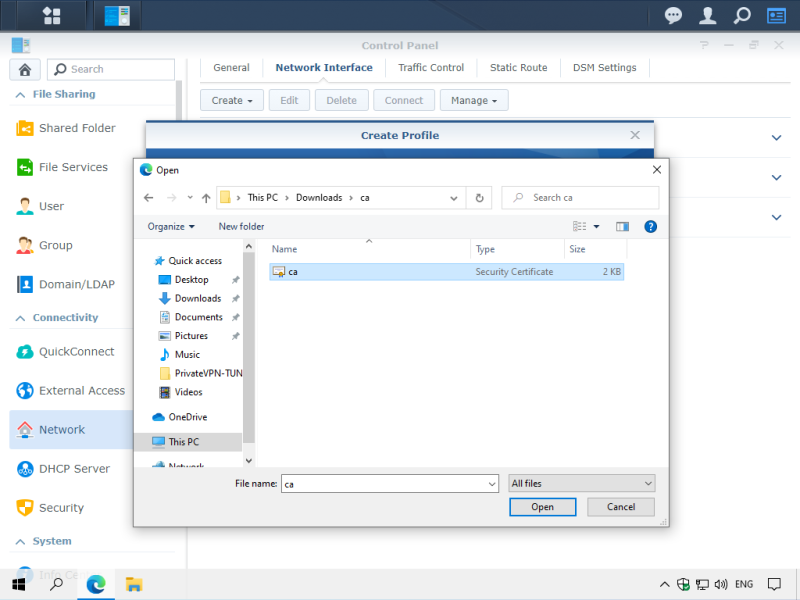
Click Browse button for CA certificate and then select the extracted ca.crt file. Click Open.
Click Next.
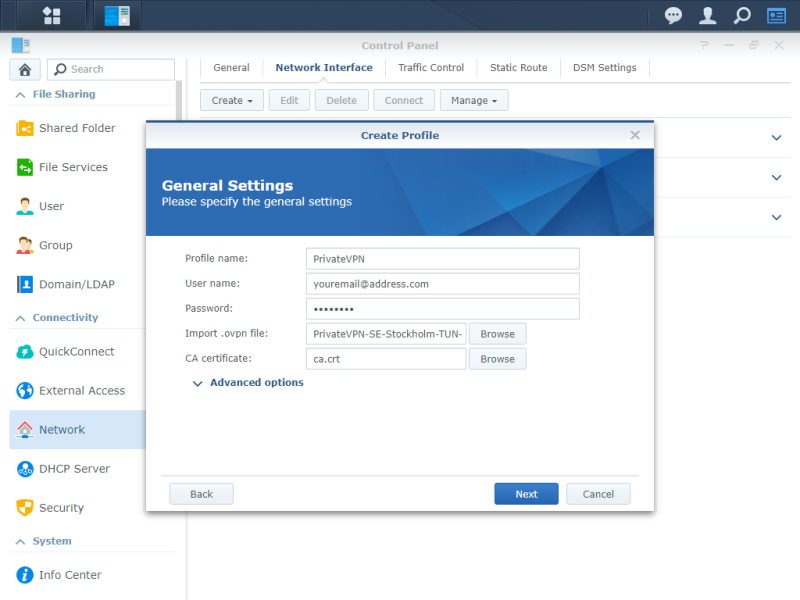
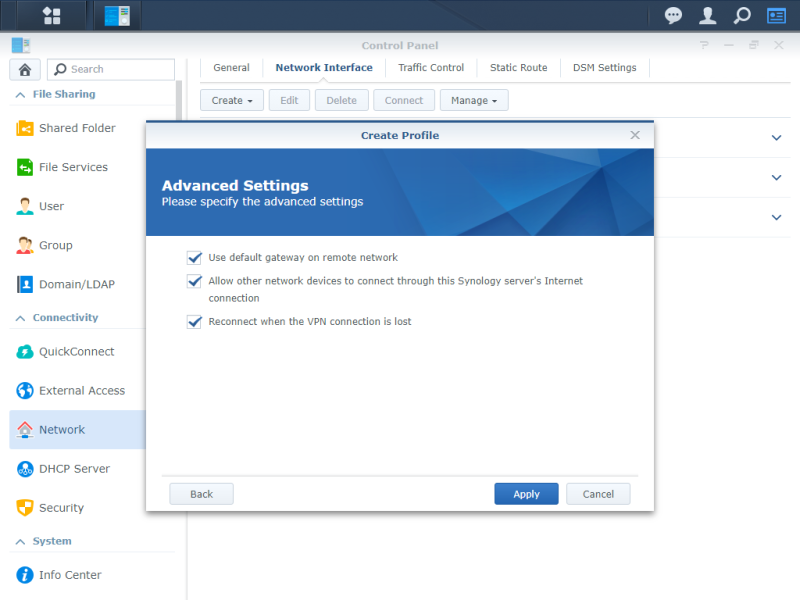
Enable your preferred option on the list. Click on Apply.
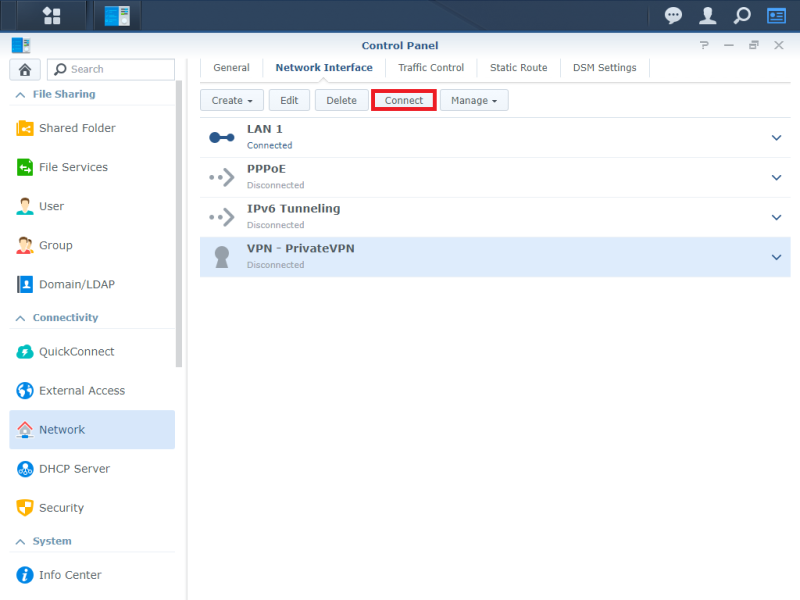
Select the VPN profile that you have created and then click Connect.
